A post for reference! This is a checklist of every step in my process for making hand-welted leather boots and shoes.
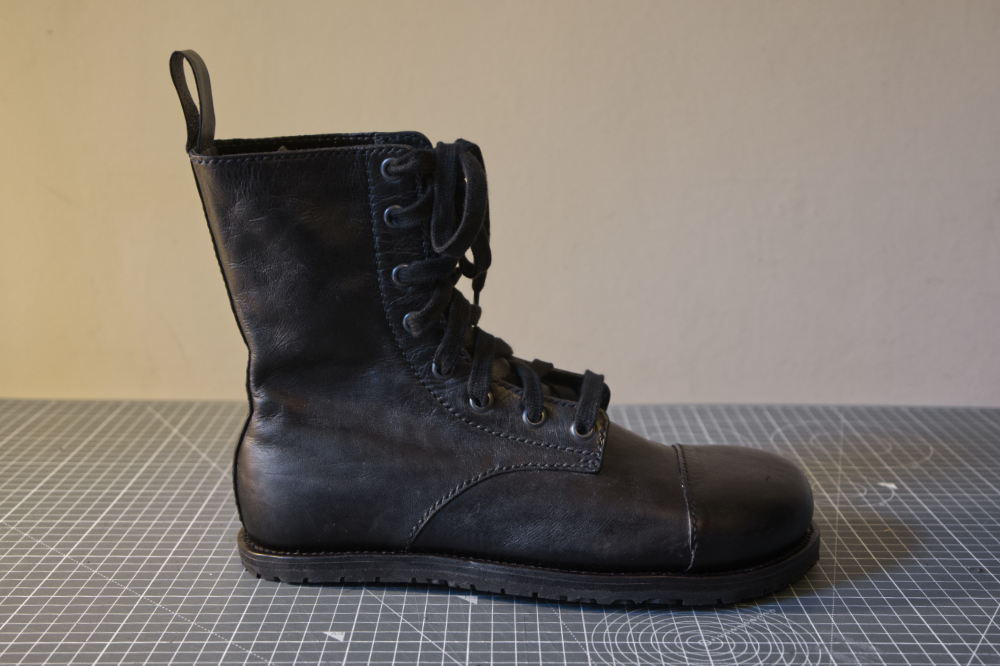
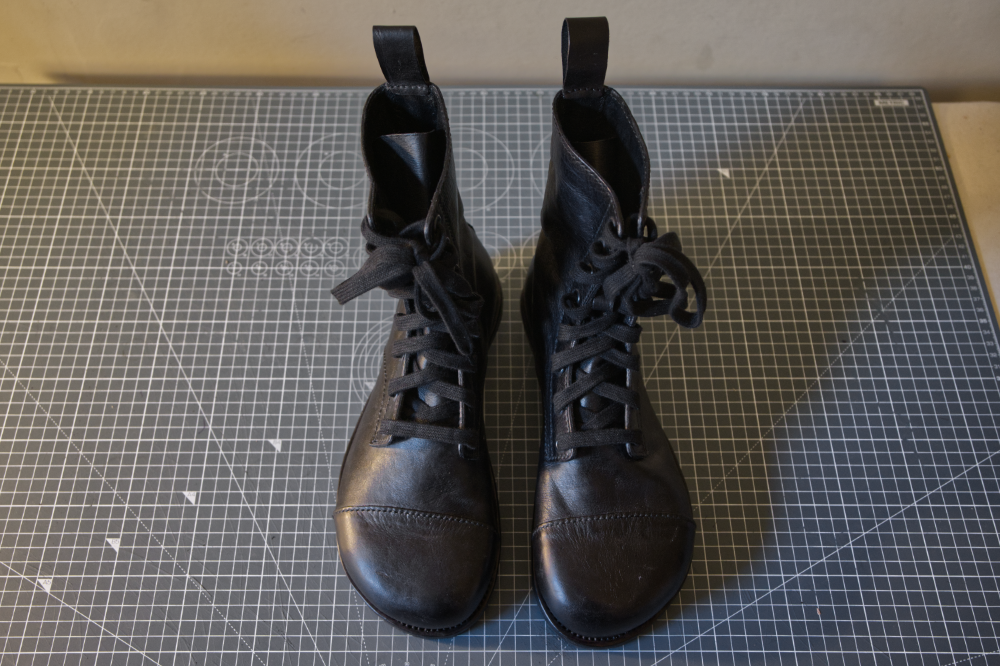
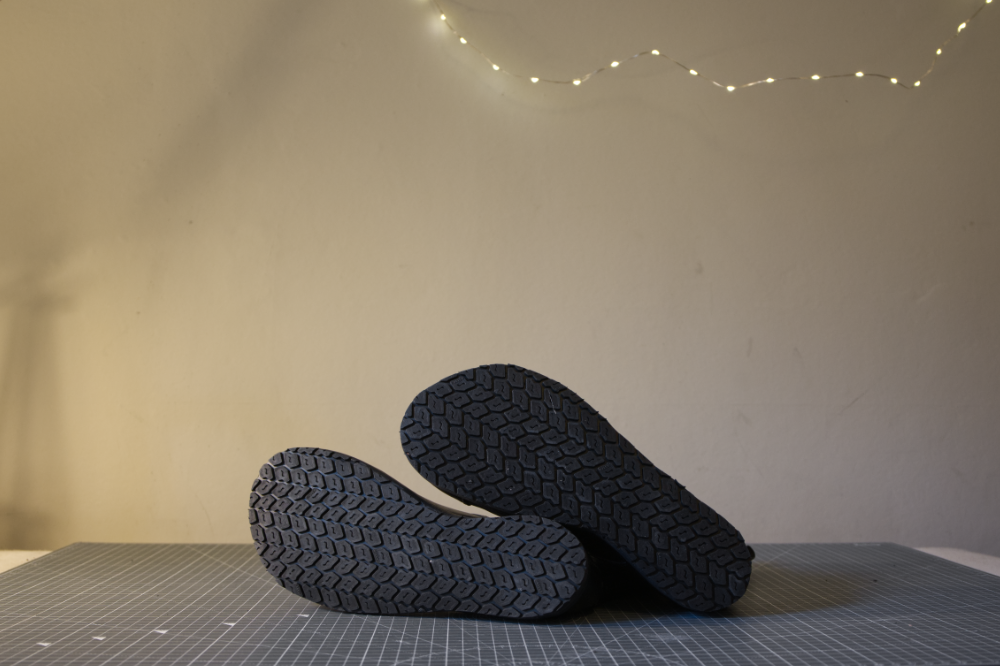
But first, a proud shoe mama moment: I used this checklist to guide my latest project, these barefoot-style derby boots.
OK! A few general notes on this step-by-step checklist:
- It assumes the pattern has already been drafted.
- It assumes a derby boot construction with a 360-degree welt and rubber soling that comes in a sheet.
- It assumes veg tan upper leather (but if using chrome tan, can just skip the burnishing steps).
- I’ve included my notes for both a regular tongue and a bellows tongue.
- On the sewing:
- I sew the outer leather by hand using a saddle stitch about 3mm in from the leather’s edge. For edge-to-edge stitching (only the spine of the quarters), I use a box stitch, aka x-and-bar stitch.
- For lining-only seams (again, only the spine of the quarters), I use a zigzag stitch on my sewing machine.
- On the glues: Unless otherwise noted, the glue I use is Renia Aquilim, a water-based contact cement. Other glues that make an appearance are Hirschkleber (for attaching the stiffeners), very basic white PVA glue (for tacking down the lasted outers), and Renia Colle de Cologne (for securing the soling).
- Shoemaking resources that have taught me a lot and helped inform this process:
Prepping stiffeners
Clicking (aka cutting out the pattern pieces) and prepping upper pieces
-
- Outer leather:
- Toe cap (L, R)
- Vamp (L, R)
- Quarters (L, L, R, R)
- Back strip (L, R)
- Tongue (L, R)
- Lining leather:
- Vamp (L, R)
- Quarters (L, L, R, R)
- Back strip (L, R)
- Insock (L, R)
- Outer leather:
Closing (aka attaching outers and linings to create the upper)
Join toe cap and vamp
Join spine of quarters
Join outer/lining quarters
If bellows tongue:
If regular tongue:
Join tongue (both regular and bellows) and vamp
Join vamp and quarters
The uppers are done! 💃
Insole and welt prep
Lasting
Welting
Attaching the midsole
If building stacked leather heel
Attaching the rubber sheet soling
Edge finishing
The final steps
All done 🥾👢👞🥂✨