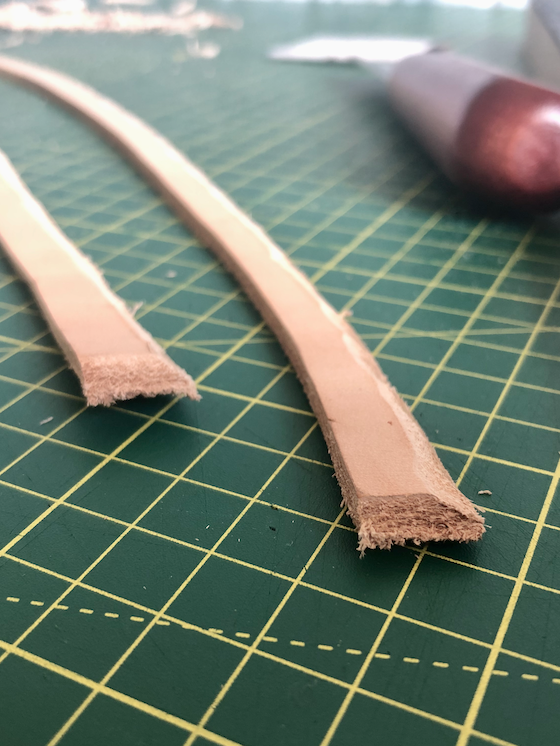
In which I slice and dice the veg tan leather that’ll go under the sole and around the outer edge of each boot.
The insoles
The insoles are not just the layer on which the foot will rest—they’re also the anchor that’ll hold the whole shoe together.
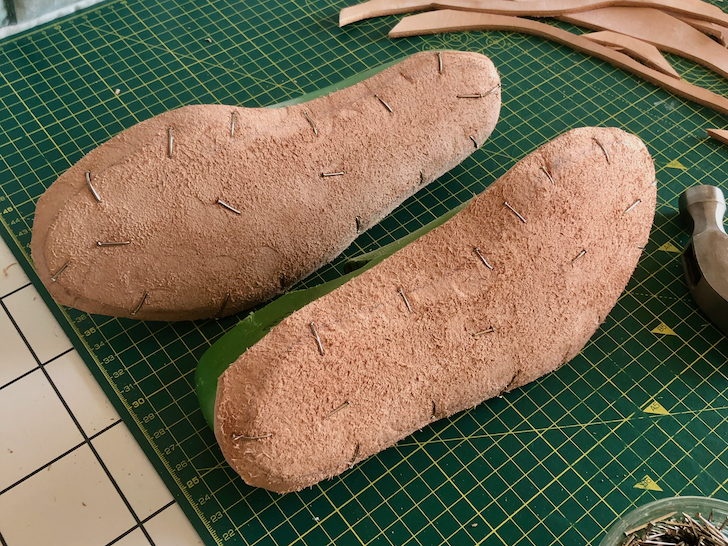
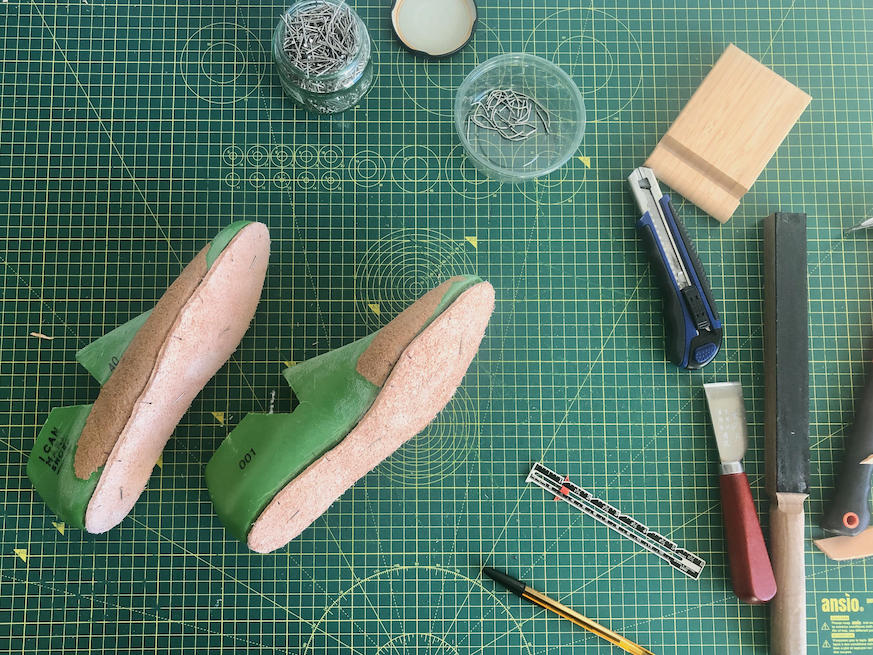
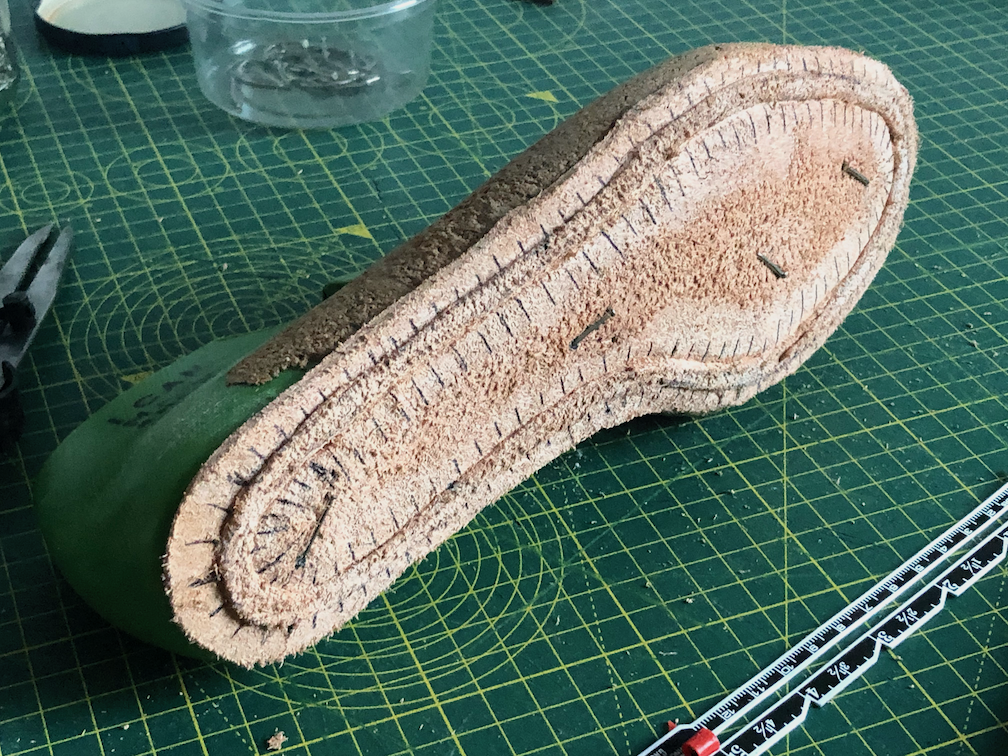
The first step is to block the insoles to the bottom of the last so that the leather begins to take on the curve of the sole. I cut some generously sized pieces of 3 mm veg tan leather, immersed them in water, let them dry until they were just a little bendy, scraped the skin side with a piece of glass (glassing removes the outermost surface to hopefully lessen squeaking as I walk), and nailed the pieces onto the last.
Being able to find the feather edge is crucial, because the next step is to trim away the overhang. The result should be two pieces that curve along with the last’s sole and mirror the taper and flare of the feather edge.
After trimming, I also bevelled the upper edge of the insole. Otherwise the harsh edge would be uncomfortable on my feet.
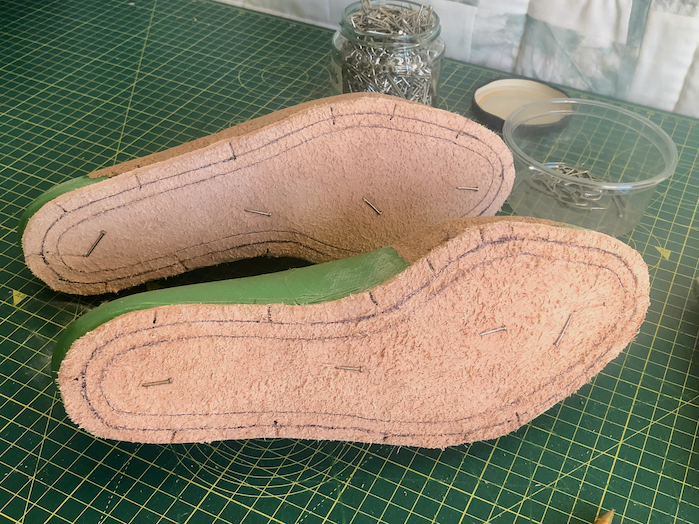
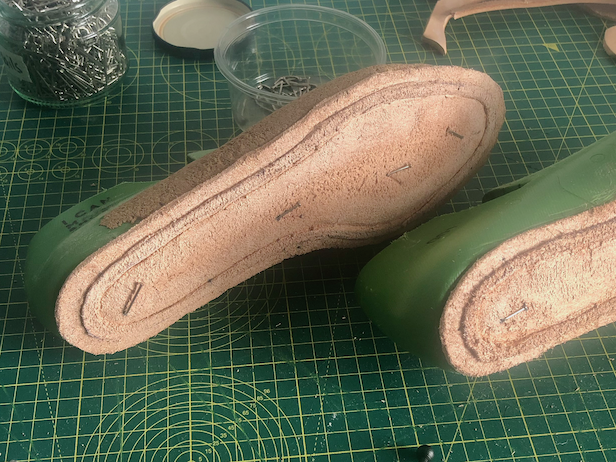
Now to create the structure that will allow the upper to be joined to the insole: the holdfast. The holdfast is formed by relief carving into the insole, defining a ridge that runs around the bottom of the foot.
I first marked the distance from the feather edge to where the outer edge of the holdfast should be. This distance is typically 5 mm, except it’s 10 mm at the crest of the inner waist (that is, the inside arch of the foot) and 7 mm at the outer waist, the toe, and the heel. Then I connected these points and used my dividers to mark a 6 mm strip around the whole insole.
Then, very carefully, I carved about 1.5 mm into the insole on either side of these lines. The channel around the inner line slopes downward downward from the centre of the insole, while around the outer line, I can just cut straight in from the outside edge.
I believe the professionals like Carreducker use leather that’s 6 mm thick for their insoles. The extra thickness would give a bit more leeway in carving the holdfasts, but in terms of sturdiness, even these relatively shallow holdfasts haven’t let me down.
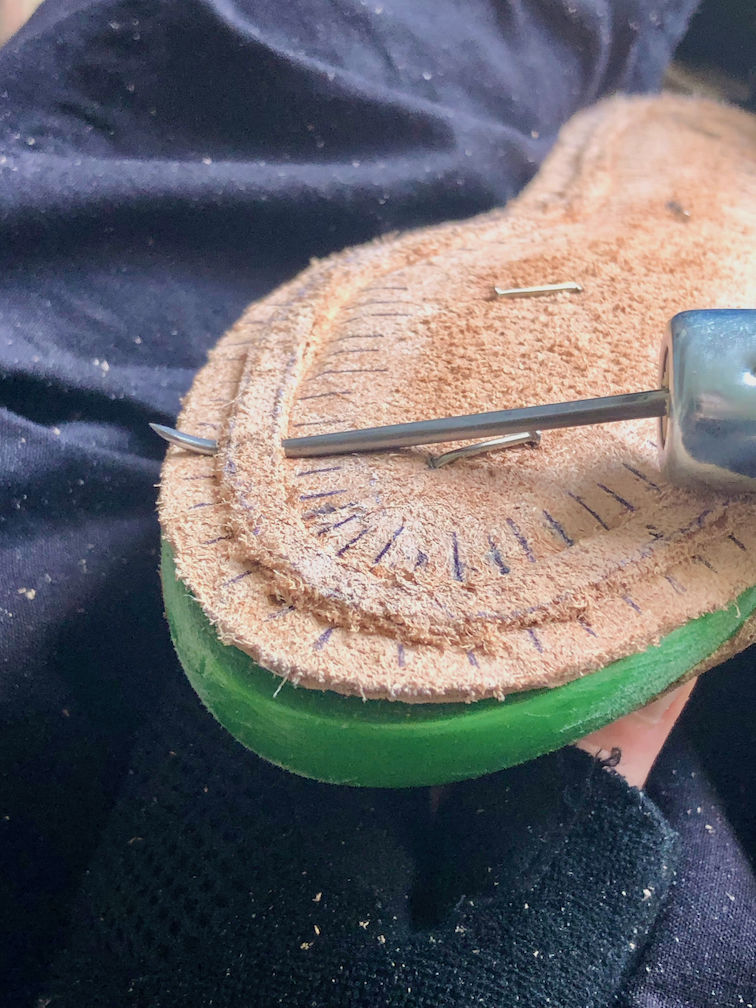
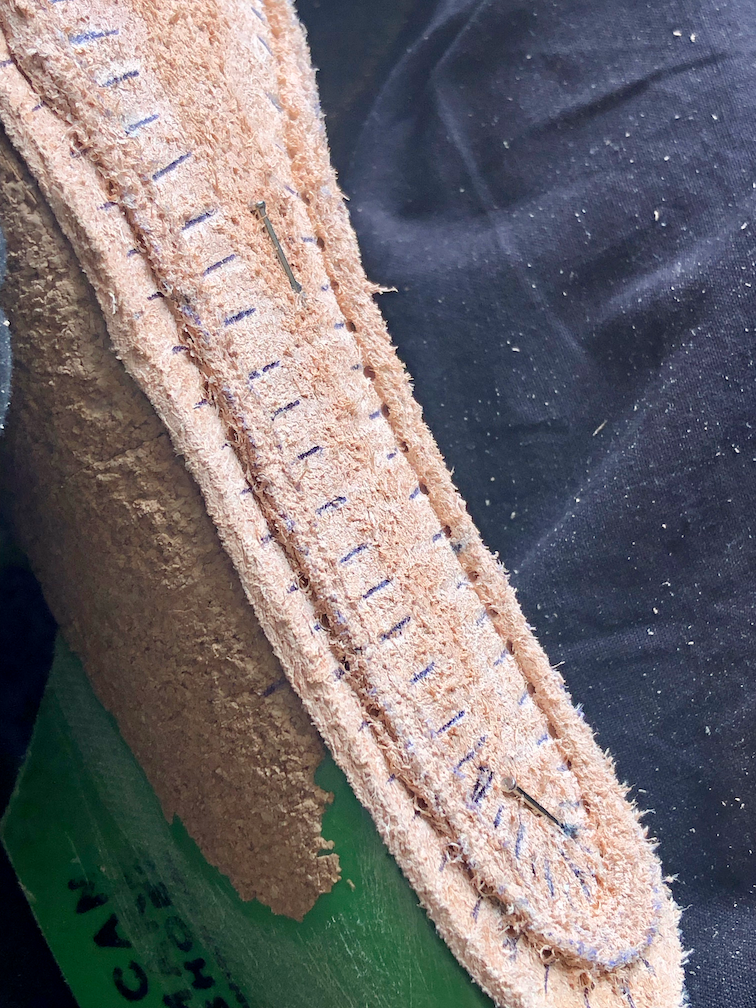
Soon, once the boots are lasted, I will stitch through the holdfasts and the uppers (and the welts—see below!). To prepare for the stitching, I marked around the holdfast where the thread will pass through. The stitches should be spaced about 8 mm apart on the outside of the holdfast, so they’ll cluster more tightly inside the curves of the toe and heel.
Finally, I used my welting awl (slightly curved) to punch holes through the holdfast at every line I marked. This’ll make the stitching much easier later.
(Shoe aficionados may have encountered the term “Goodyear welted”. Goodyear welting is related to hand welting, just the holdfast is made of canvas glued to the underside of the insole, not carved out of the insole itself.)
The welts
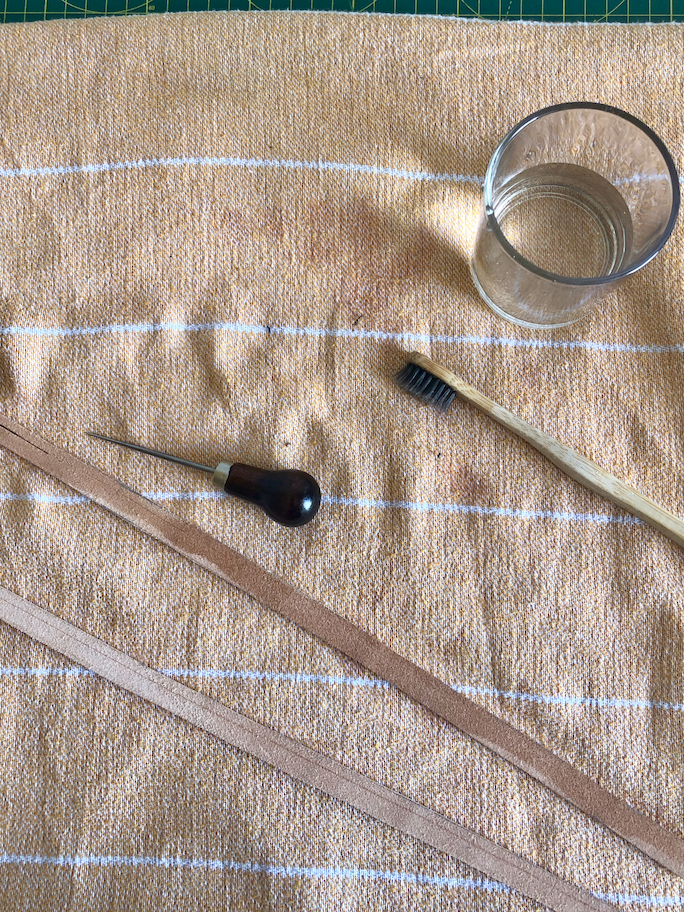
The final step to prepare is the welts, the leather strips that will encircle the feather edge of the boots and, later, provide the connection to the midsole.
I cut two strips from the 3 mm veg tan leather, each 1.2 mm wide and 70 cm long.
To craft the welts, I followed the steps laid out here and here.
And with that, the prep is done!
Next: to last.
