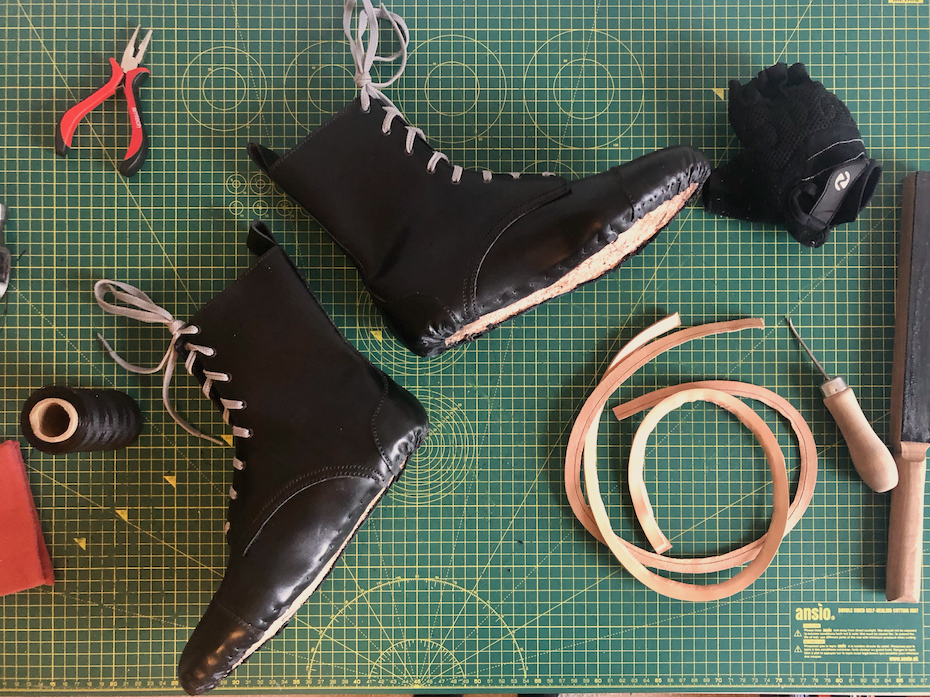
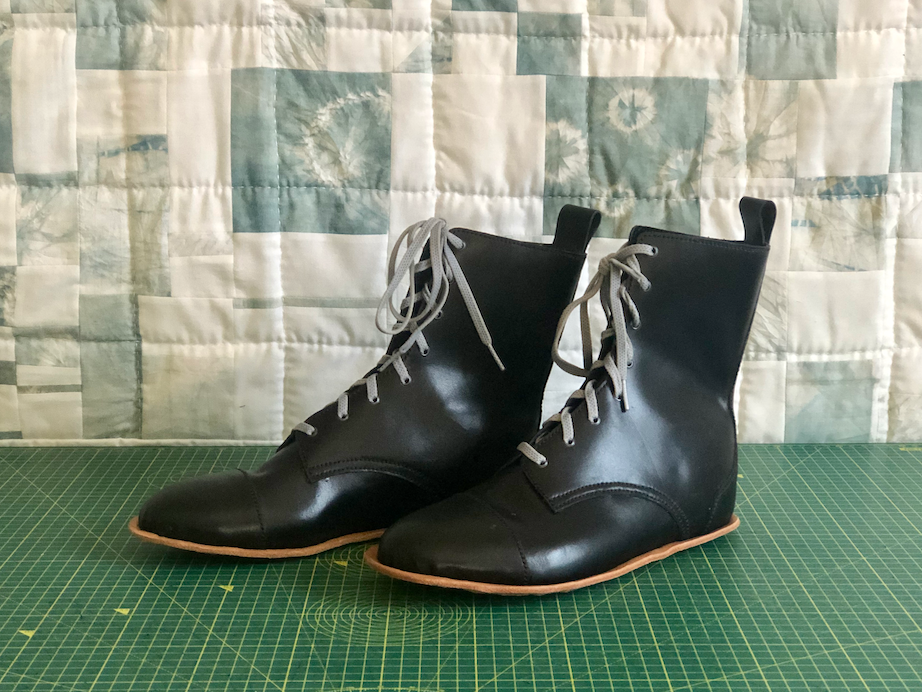
The two parts of shoemaking that I find the most challenging happen back to back! But they’re also probably the most rewarding.
Lasting
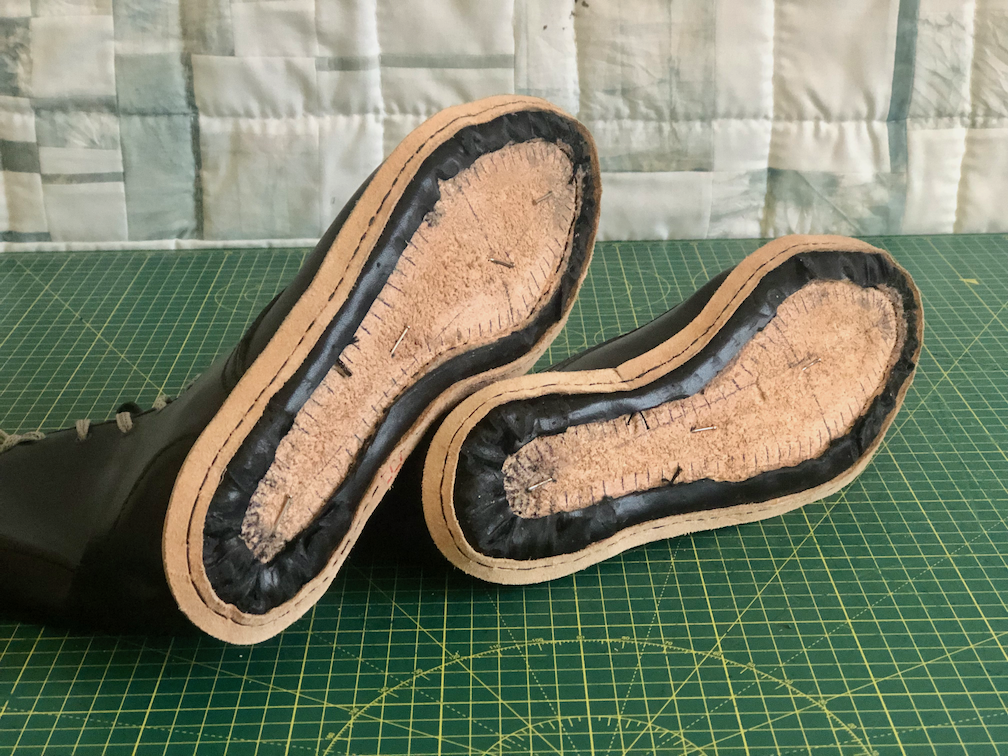
Now that I’ve blocked the insoles and carved out the holdfasts, I’m finally ready to last the uppers—that is, to pull the leather that’ll cover the foot over the last and anchor it down.
(Supposedly one should be making boots on boot lasts that have higher ankles, but my previous pair of boots came out just fine on these basic shoe lasts, so 🤷🏻♀)
I can tell which upper is destined for which last because when cutting out the pattern pieces, I left little triangles sticking out at the bottom of each piece that goes on the inside of the foot. (If you revisit the pictures in this previous post, it’s for this reason that some pattern pieces but not others have extra little triangles on their bottom edges!)
To begin, I drenched the lasts and the insides of the uppers in baby powder. The idea is that the powder will help the lasts slip out more easily after the boots have been built.
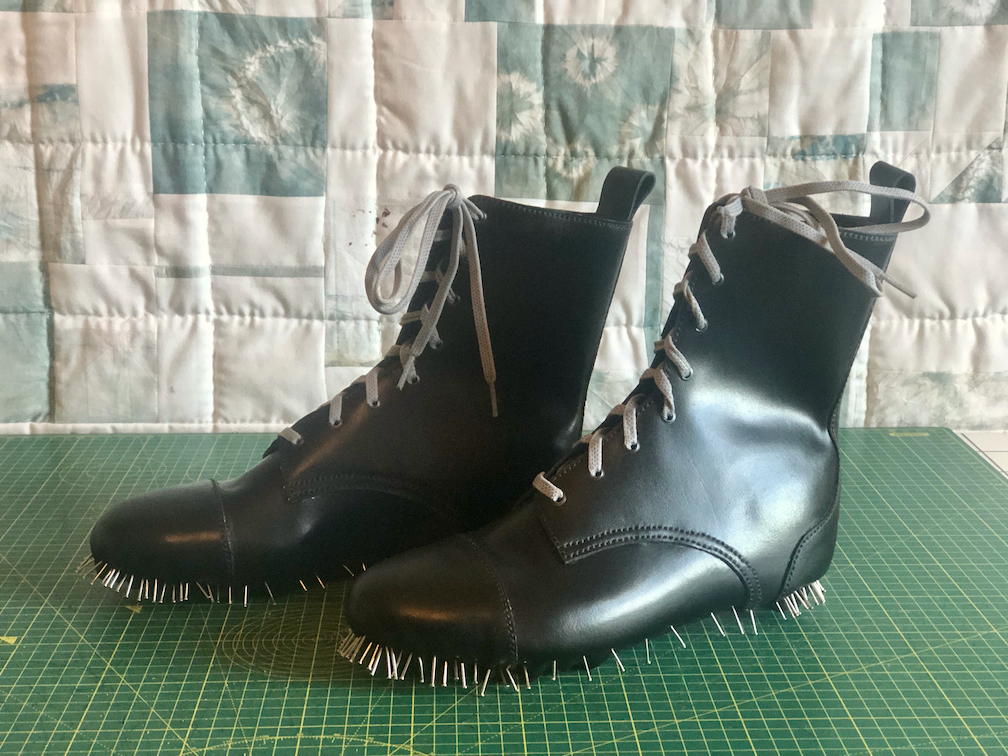
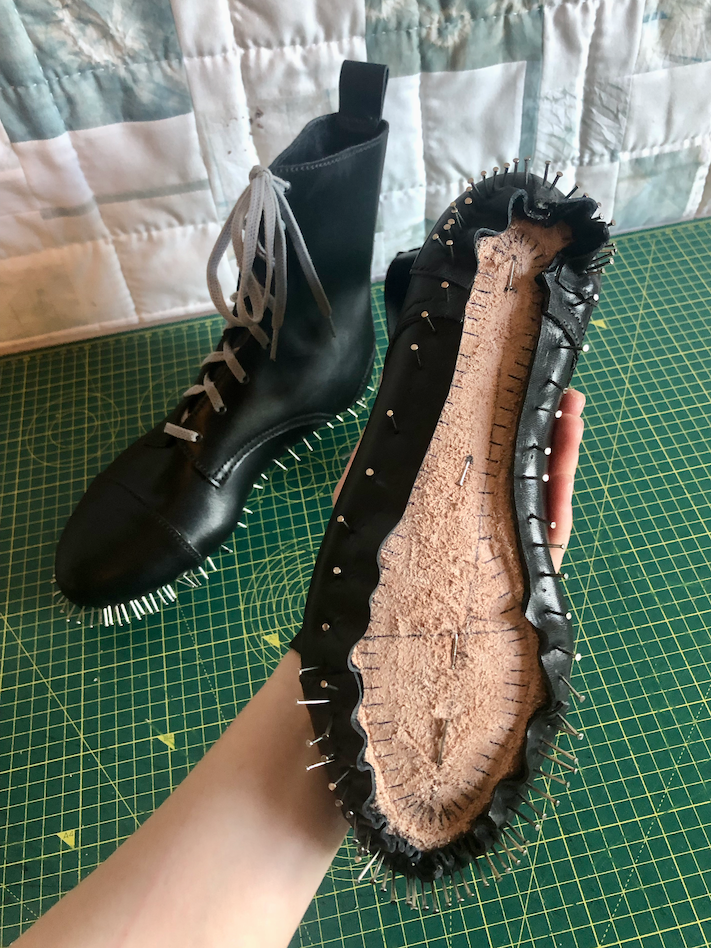
Next, I “pre-lasted” the uppers by nailing them sparsely to the bottom of the last, not pulling too tight, just letting the leather get to know the shape it will take on before the hard work of proper lasting begins. I left the boots sitting like this for a couple days.
To anchor the back of the boot to the back of the last, when lasting my previous pair of boots, I had put one nail straight through the heel cap into the last. Seemingly this is a controversial practice, so I experimented with not doing it this time, but I regret that choice—the heel of the last didn’t stay in place very well, there was too much vertical play, so lasting the heels was a challenge. (Maybe this is one reason why boot lasts can useful?) So, note to future self: for me, the heel nail is a good move.
I unfortunately fully forgot to take any pictures while actually lasting the boots! The process looked like this: me, hunched over an upside-down boot in my lap, using lasting pliers to yank on the bottom edge of the upper leather, pulling it as far toward the centre line as I could before nailing each bit in place. Even though it’s a lot of work, it does make you feel like a real cobbler.
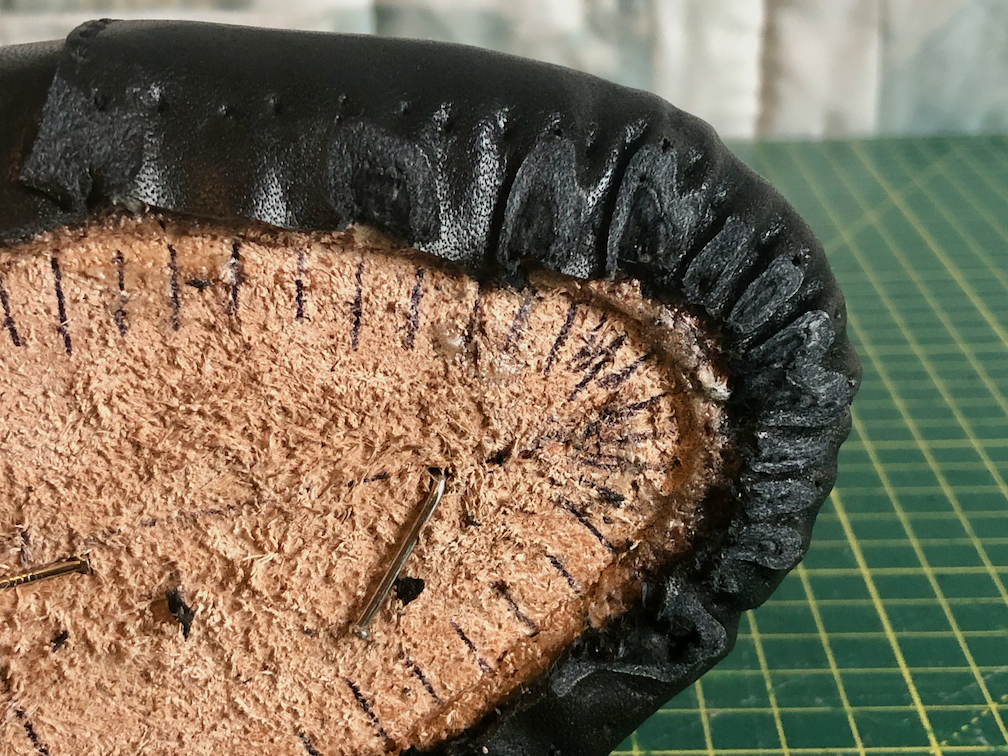
As you can probably imagine, excess leather really bunches up around the toe and the heel, so those areas require extra care (and extra nails).
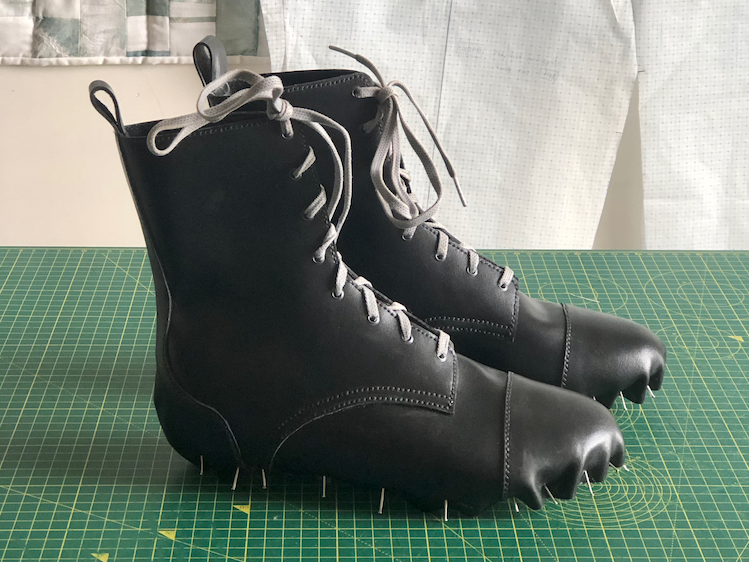
Despite all those nails, the toes still turned out a bit puckered above the feather edge, but honestly I don’t really mind. All these organic “imperfections” show that these boots came from the hands of an artisan and not from a machine.
After lasting, I glued down the edges of the uppers, and once the glue was dry, I pulled out the nails and skived the big pleats flat.1
Welting
Time for the number one trickiest part of the whole process: connecting the welt strips to the boots by stitching through them, the upper, and the holdfast.
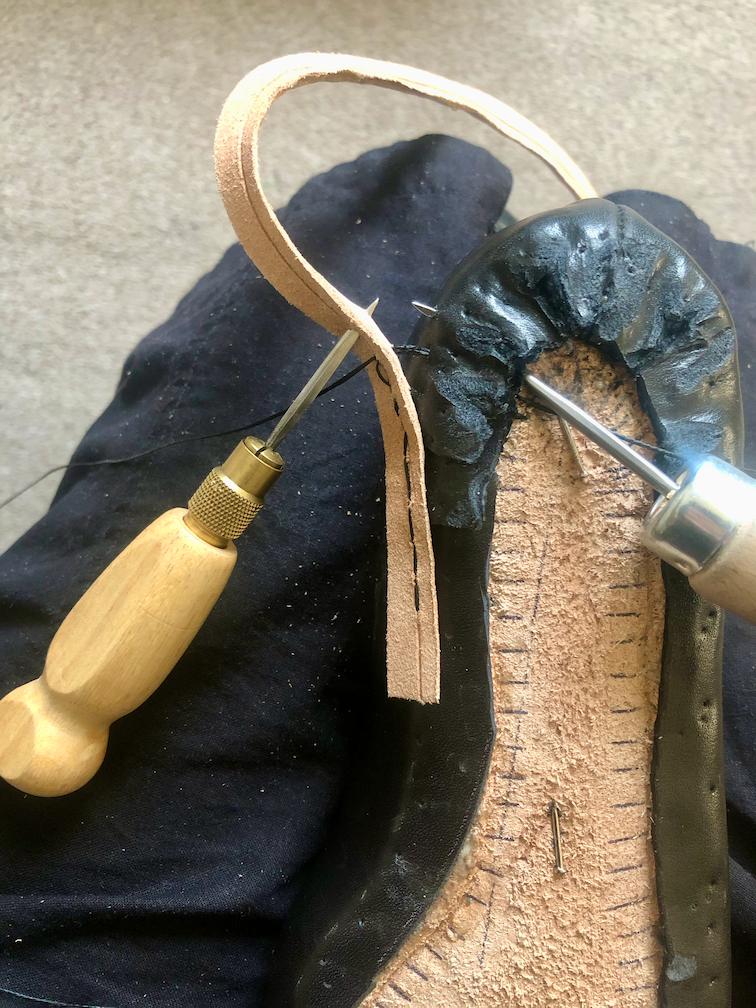
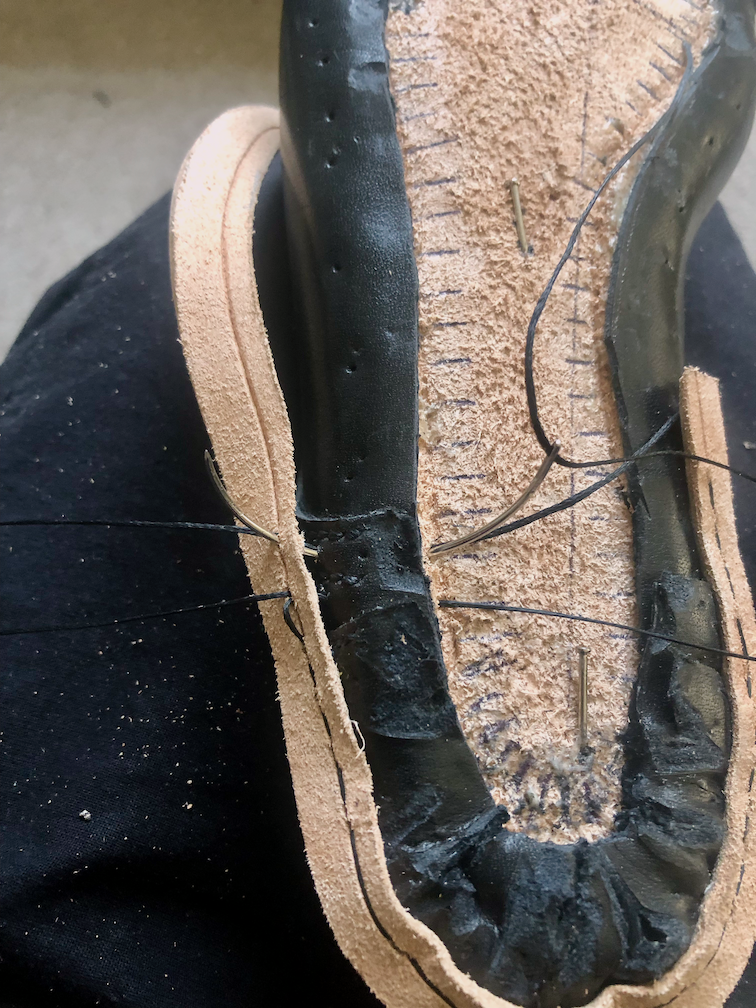
I began attaching the welts at the inside waist of each boot, the least visible spot. For each stitch, I put my welting awl through a pre-existing hole in the holdfast and punched through the feather edge of the glued-down upper. Then I used a separate awl to perforate the welt strip in the right spot (having two awls was a lot easier than making my poor welting awl do all the work). Then I saddle stitched with curved upholstery needles through all those cumbersome layers.
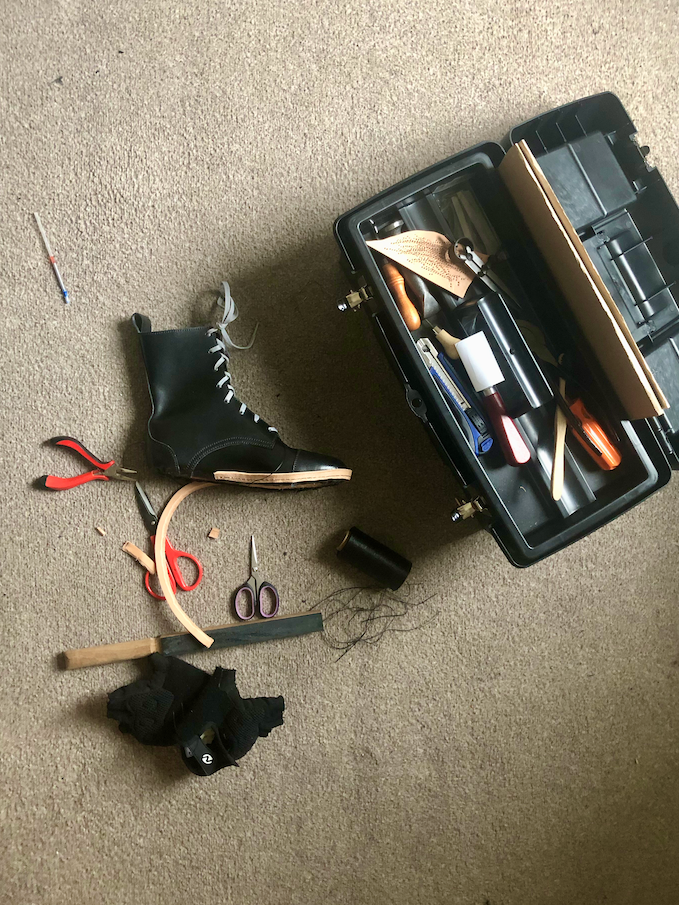
It took me a full Saturday to welt both boots, partly because I snapped one of the upholstery needles—which should give you a sense of how much muscle this job takes—and I had to run out to the hardware shop to get another.
After the welts were all sewn on, I got them wet with a toothbrush and then hammered them down on both sides. Hammering from the bottom helps the bevelled “seam allowance” to sit flush against the uppers, and hammering from the top helps the strip stick out at 90-ish degrees from the feather edge.
So happy to be finished welting!! Now we’re on the home stretch, and next up are the soles 🥳
Footnotes
I wrote that nice resultative and then wondered, “Is skive a manner verb or a result verb?” (You can take the girl out of linguistics etc, etc.) Resultative constructions work (ish) for both kinds of verbs, so let’s throw a few more diagnostics from Beavers & Koontz-Garboden (2020) at skive and see what happens.
If skive is a result verb, we shouldn’t be able to deny its result. For example, “Shane just broke the vase, but it is not broken” is no good. “I skived the pleats, but they’re not skived” also sounds pretty bad, and the more general “I skived the pleats, but nothing’s different about them” doesn’t work either. +1 to Result.
If skive is a result verb, we shouldn’t be able to delete its object. For example, “All last night, Shane broke” isn’t good without “the vase”. So let’s try: “All last night, I skived”. Actually seems OK? +1 to Manner.
If skive is a result verb, we shouldn’t be able to use out-prefixation. For example, “Shane out-broke the other vase smashers” is pretty weird. But “I out-skived the other leatherworkers” is OK to me. +1 to Manner.
If skive is a manner verb, only a particular kind of actor should be able to do it. (In contrast, result verbs are OK in both “Shane broke the vase” and “The vase broke”). And “The leather skived” is definitely bad. +1 to Manner.
If skive is a manner verb, it should be bad when followed by “but didn’t move a muscle”, because probably an action is involved. “I skived the leather but didn’t move a muscle” 👎🏻. +1 to Manner.
So I guess skive is overall fairly well-Mannered, but with a bit of spice when it comes to result entailment?↩︎
