The final step before the boots take their first! ✨
We’re so close: only a couple more layers to go onto the bottom of the shoe. First the midsole is attached with glue and stitching, and then the outsole is attached with glue and a lot of screws.
Filling in the insole
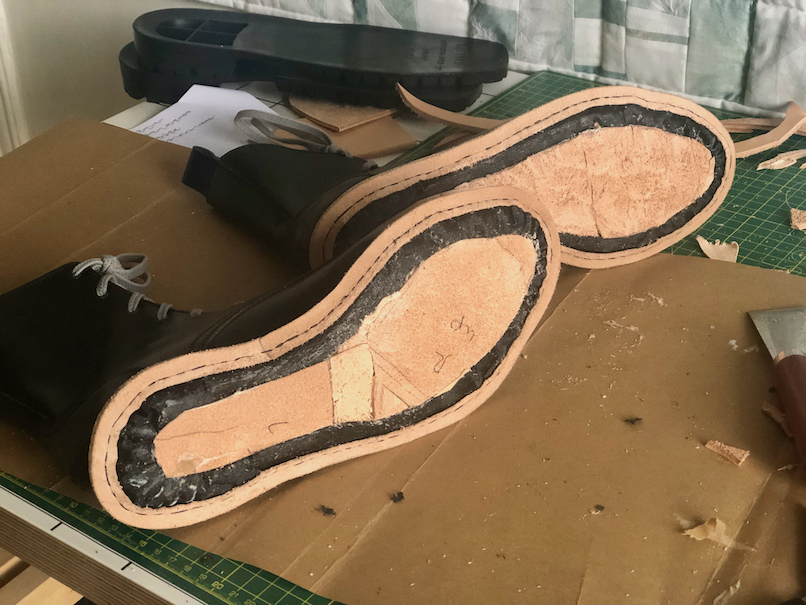
Picking up where we left off, with the boot freshly welted, the bottom of the foot isn’t quite level: the middle sits several millimetres lower than the sole’s perimeter. Not so good as a surface to glue a midsole onto! So the first thing to do is to build up the hollow centre so the surface is even.
It’s at this stage that some shoemakers will attach a shank: a stiff piece of metal, wood, or sole bend leather that sits beneath the arch and keeps the shoe from collapsing. A shank is crucial if the shoe will have a substantial heel drop, but for a flat style like this one, I’ve found that my boots hold up just fine without. So I just filled up the sole with a hodgepodge of scrap leather.
The midsole
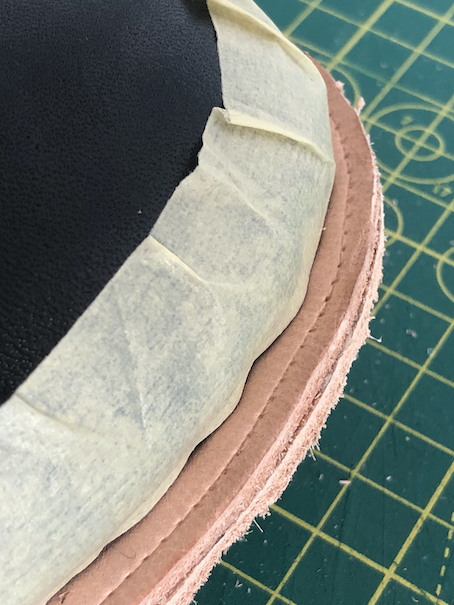
With the bottom of the foot nice and flat, the midsole can now be glued on.
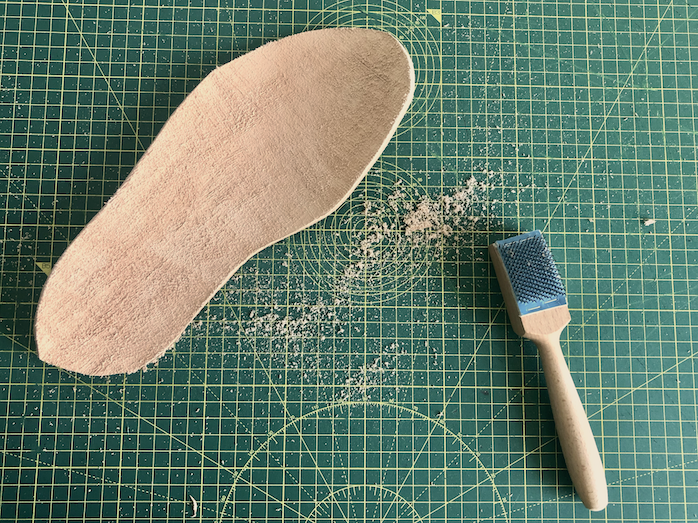
I cut generous midsoles out of 3 mm veg tan leather, a few millimetres larger than the circumference of the welt all around. Then I used my roughening tool (Carreducker call it the “killer toothbrush”) to scratch up the skin side so that it’s more receptive to glue and (hopefully) won’t rub against the insole leather and start to squeak.
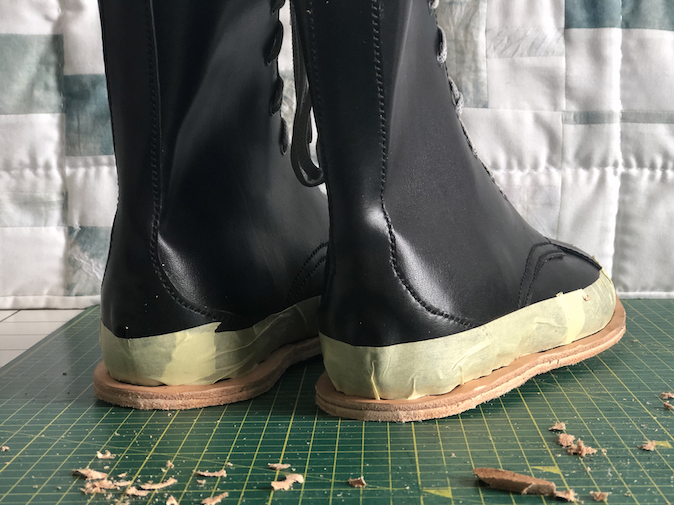
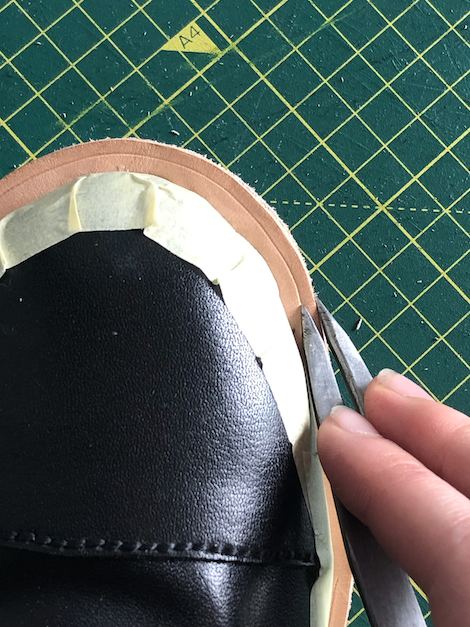
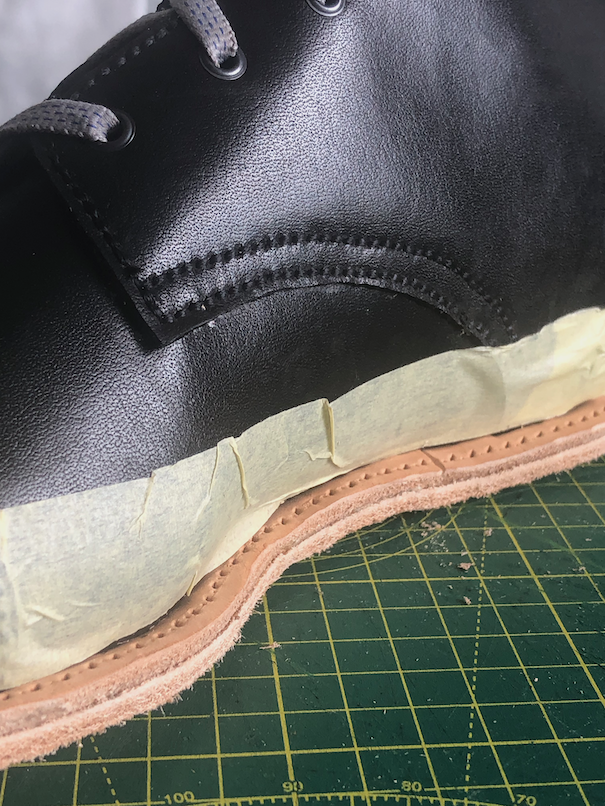
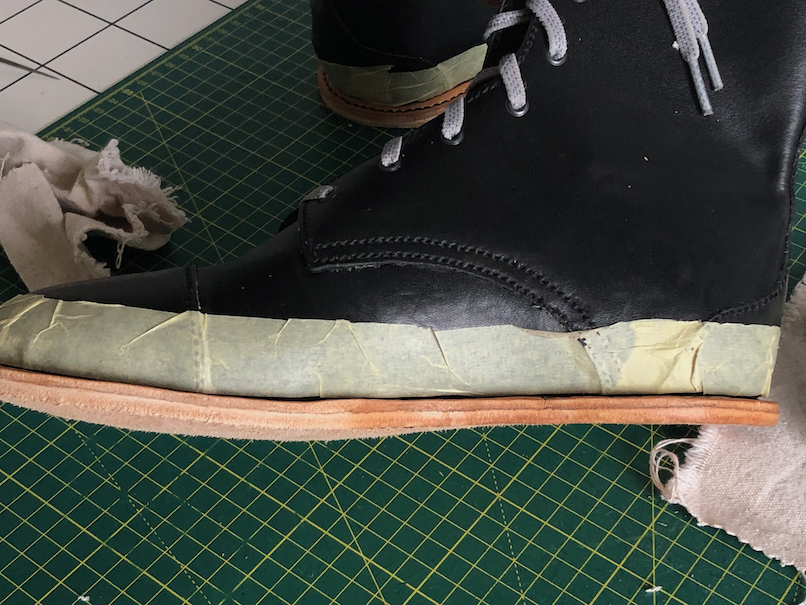
Then I glued the midsoles onto the boots, skin side up, and carefully trimmed the edges down to match the exact circumference of the welts.
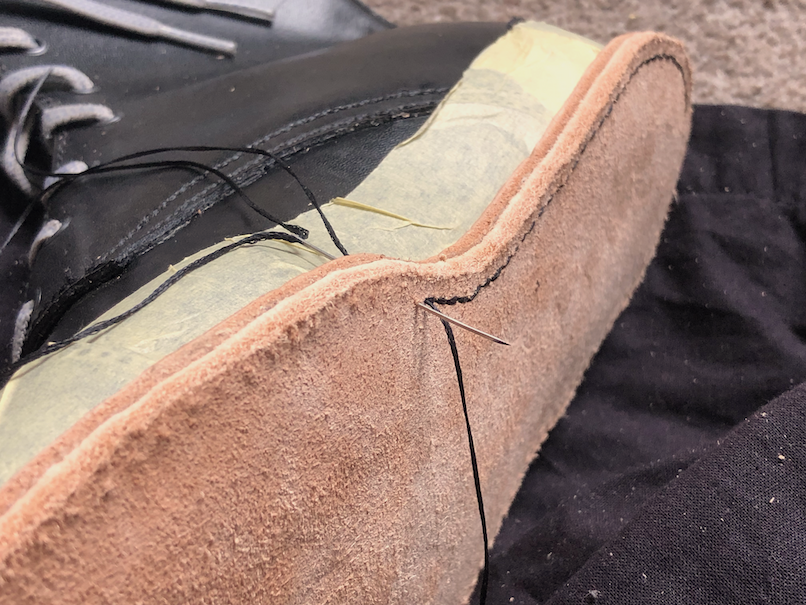
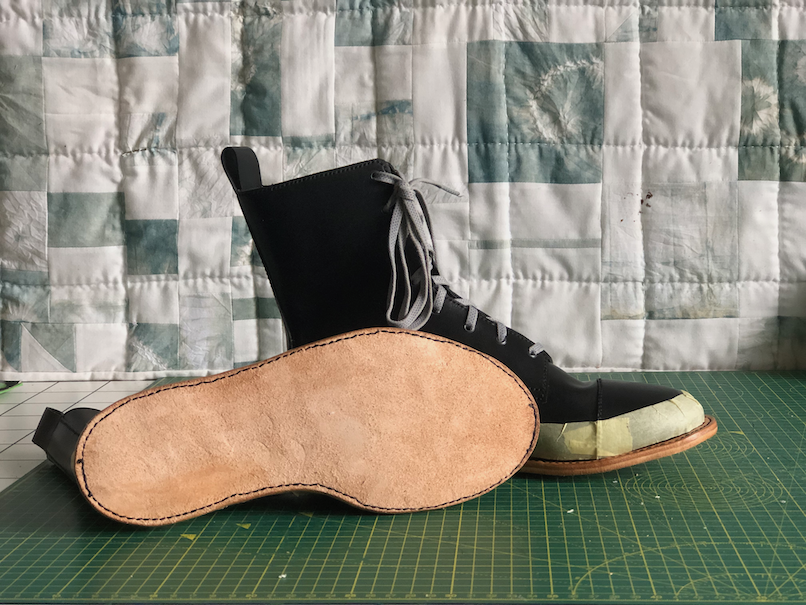
Time to stitch!
As an aside: at this point, I can most clearly illustrate why the hand-welted construction is so good for resoling. Should these boots ever need resoled, it’s this thread that would be cut through to detach the midsole from the uppers. But the welts would stay in place, and therefore so would the uppers, since they’re sandwiched in between the welts and the holdfasts. The fit of the shoe would therefore also stay exactly the same. Compare this to a stitchdown construction, where the upper is sewn directly onto the midsole, with no mediating welt. There, undoing those stitches means that the upper is free-floating and would need to be lasted again to be sewn onto the new sole, and re-lasting the upper could potentially change the shoes’ fit.
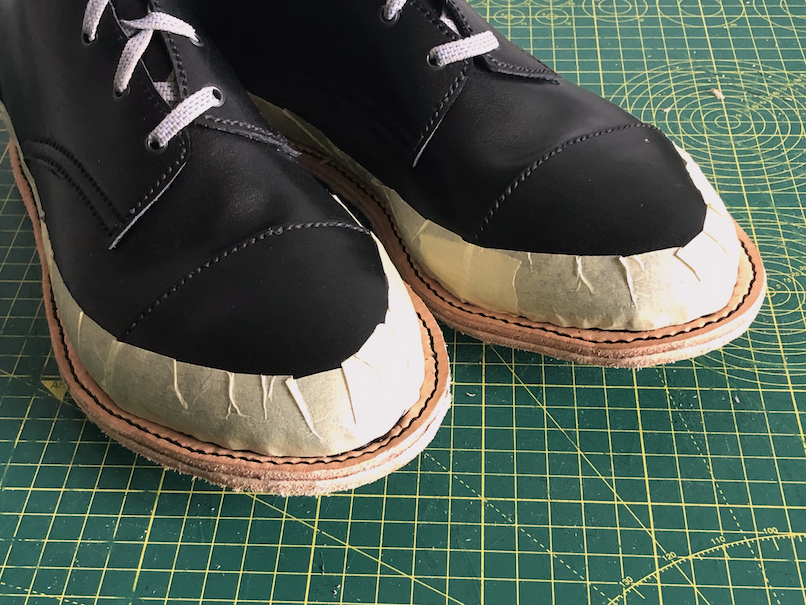
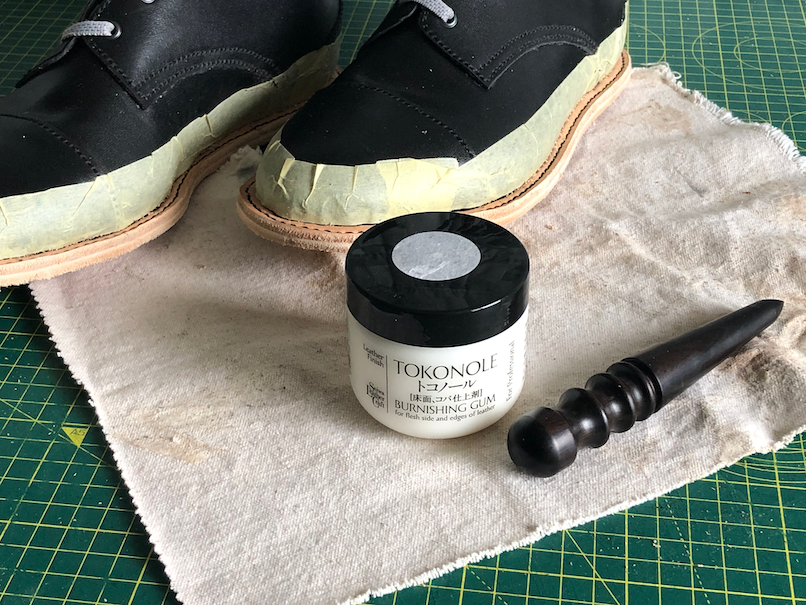
OK, back onto the rails! The last step before moving on to the outsole is to finish the exposed leather of the welt and the midsole. I like leaving the veg tan undyed, because it ages and takes colour so beautifully through wear, but I did sand it down and then burnish it for some light protection using Tokonole.
I applied the Tokonole on top of the welts and all around the soles’ perimeters. Because those surfaces are flat, I had most success burnishing them with a piece of canvas cloth rather than the burnisher tool.
Note: Because I’m applying a sole unit that covers the entire bottom of the foot, I attached the midsole with its skin side up. But if I were applying smaller, separate sole pieces that left some of the midsole exposed, I would have attached it skin side down and used Tokonole to finish any parts left uncovered.
The outsole
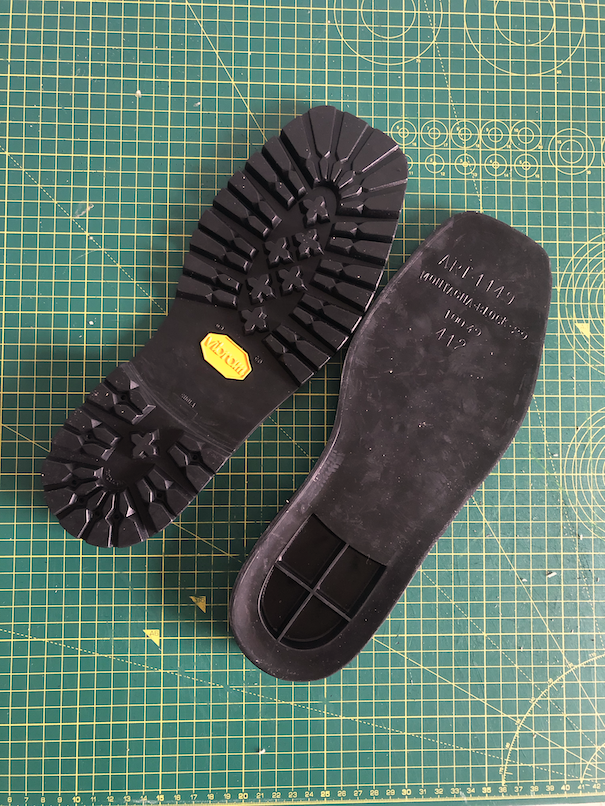
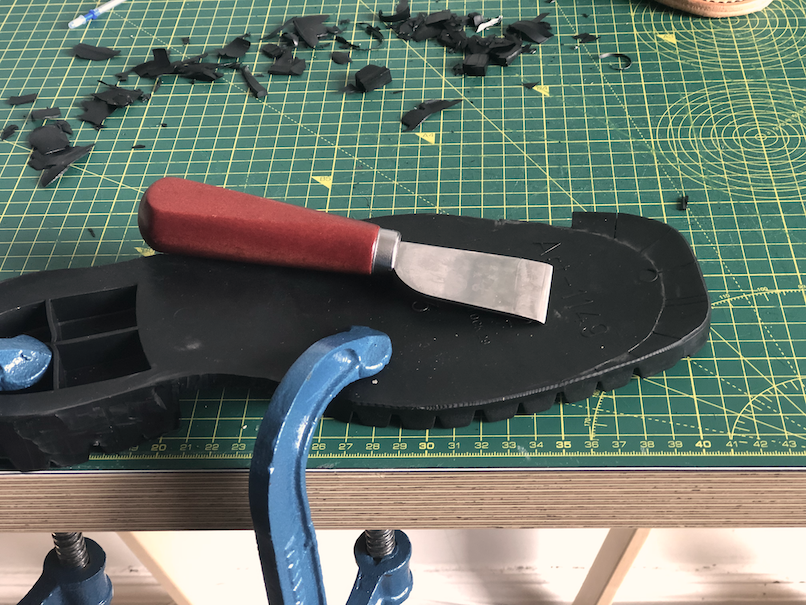
Speaking of the sole unit, here’s what we’re working with:
I intentionally ordered sole units that are a bit oversized—size 41/42 for my 39/40—so that the width would be right. But of course, they’re a bit too long, so I had to trim the toe and heel down to the true size of the boot, which I traced on with silver pen.
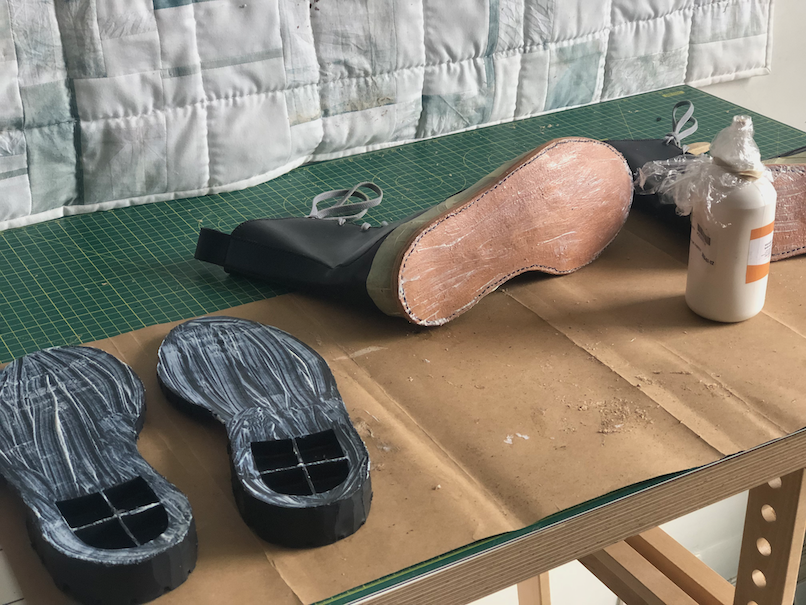
Once the outsoles were the right size, I glued them onto the flesh side of the midsoles.
And now, with the soles all finished, the boots are ready to come off of the lasts! 🥳 An enormous milestone!
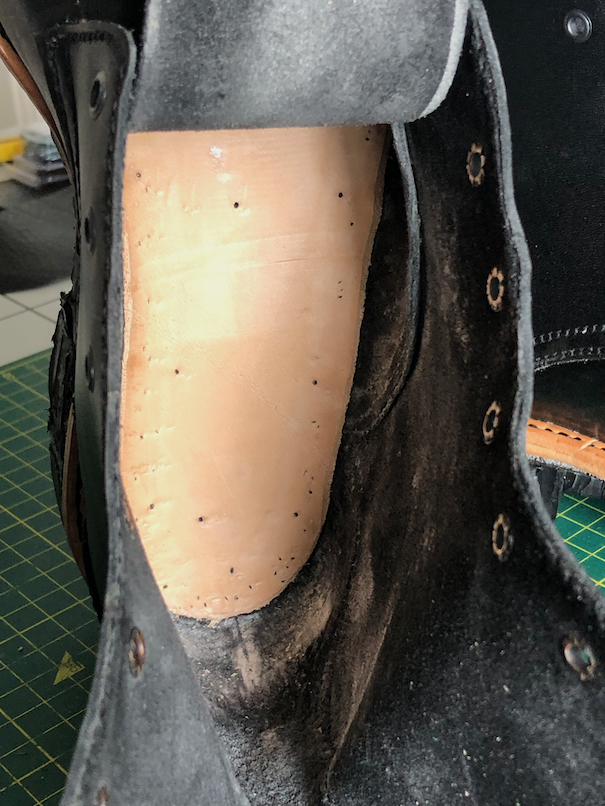
With the last out, here’s how the insole looks from the top:
All the white dust in the picture above is the baby powder I added so that removing the last would be easier—and it worked!
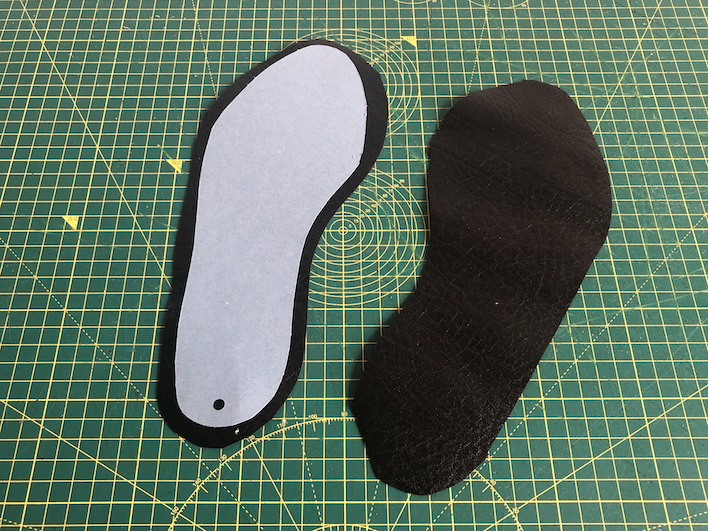
One of the last steps is to cover up this raw insole with another shoe component with a silly name: the insock.
I glued the insocks down inside the boots, and with that, they were done!
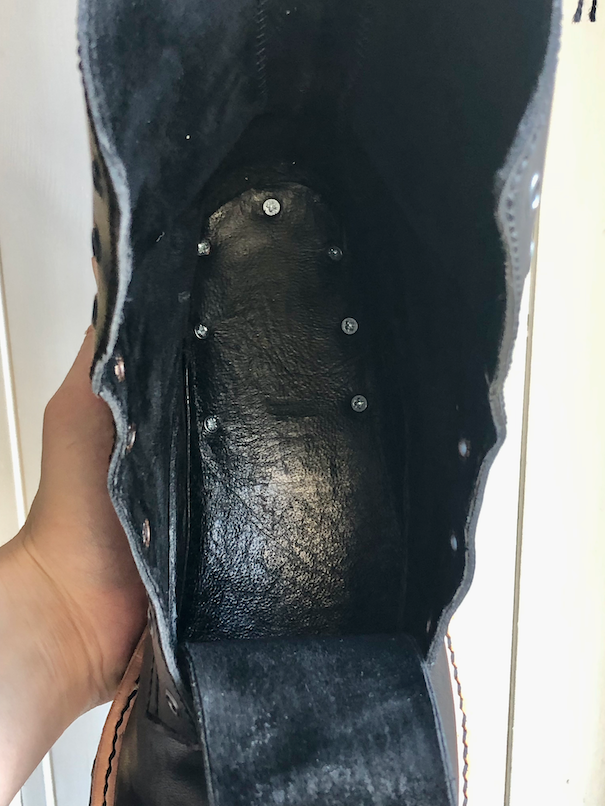
… Or so I thought, until I took them walking on a hot day and the heels of the outsoles peeled off 🙃 I guess the temperatures softened the glue, and two screws weren’t enough to hold each heel on. So when I got home, I sent a bunch of screws down from the insole into the solid rubber around the outside of the heels.
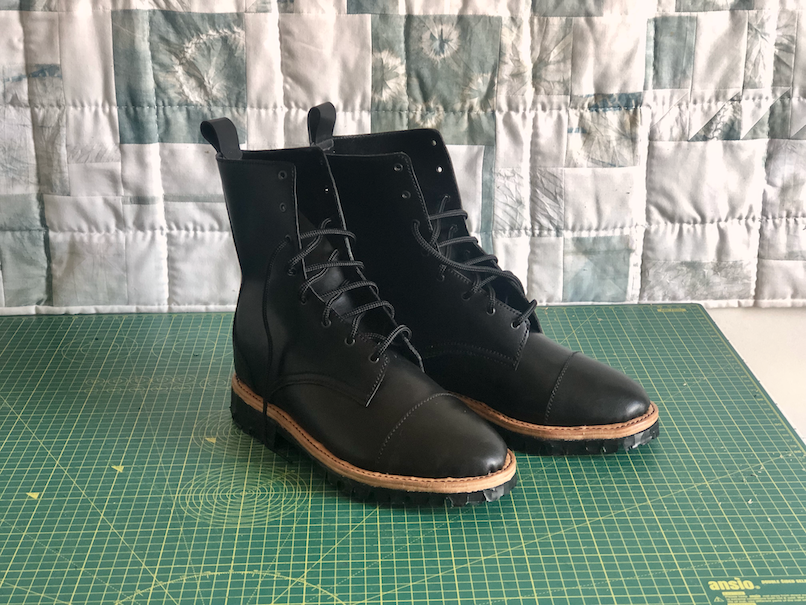
OK, and with that, they really are done 🥰
Creating my own shoes is magic.
I really used to think it was normal that a new pair of leather shoes would cause months of blisters and pain before they started feeling okay. Making shoes has shown me that commercial footwear just isn’t made for feet shaped like mine. Which is wild, because my feet are so normal?! I could go on about that for a long time, but suffice it to say: what a difference to put on my beautiful bespoke, handmade boots. They fit perfectly right away. And with the right care, they’ll last me forever. Magic, I say!
Thanks for following along ❤️
